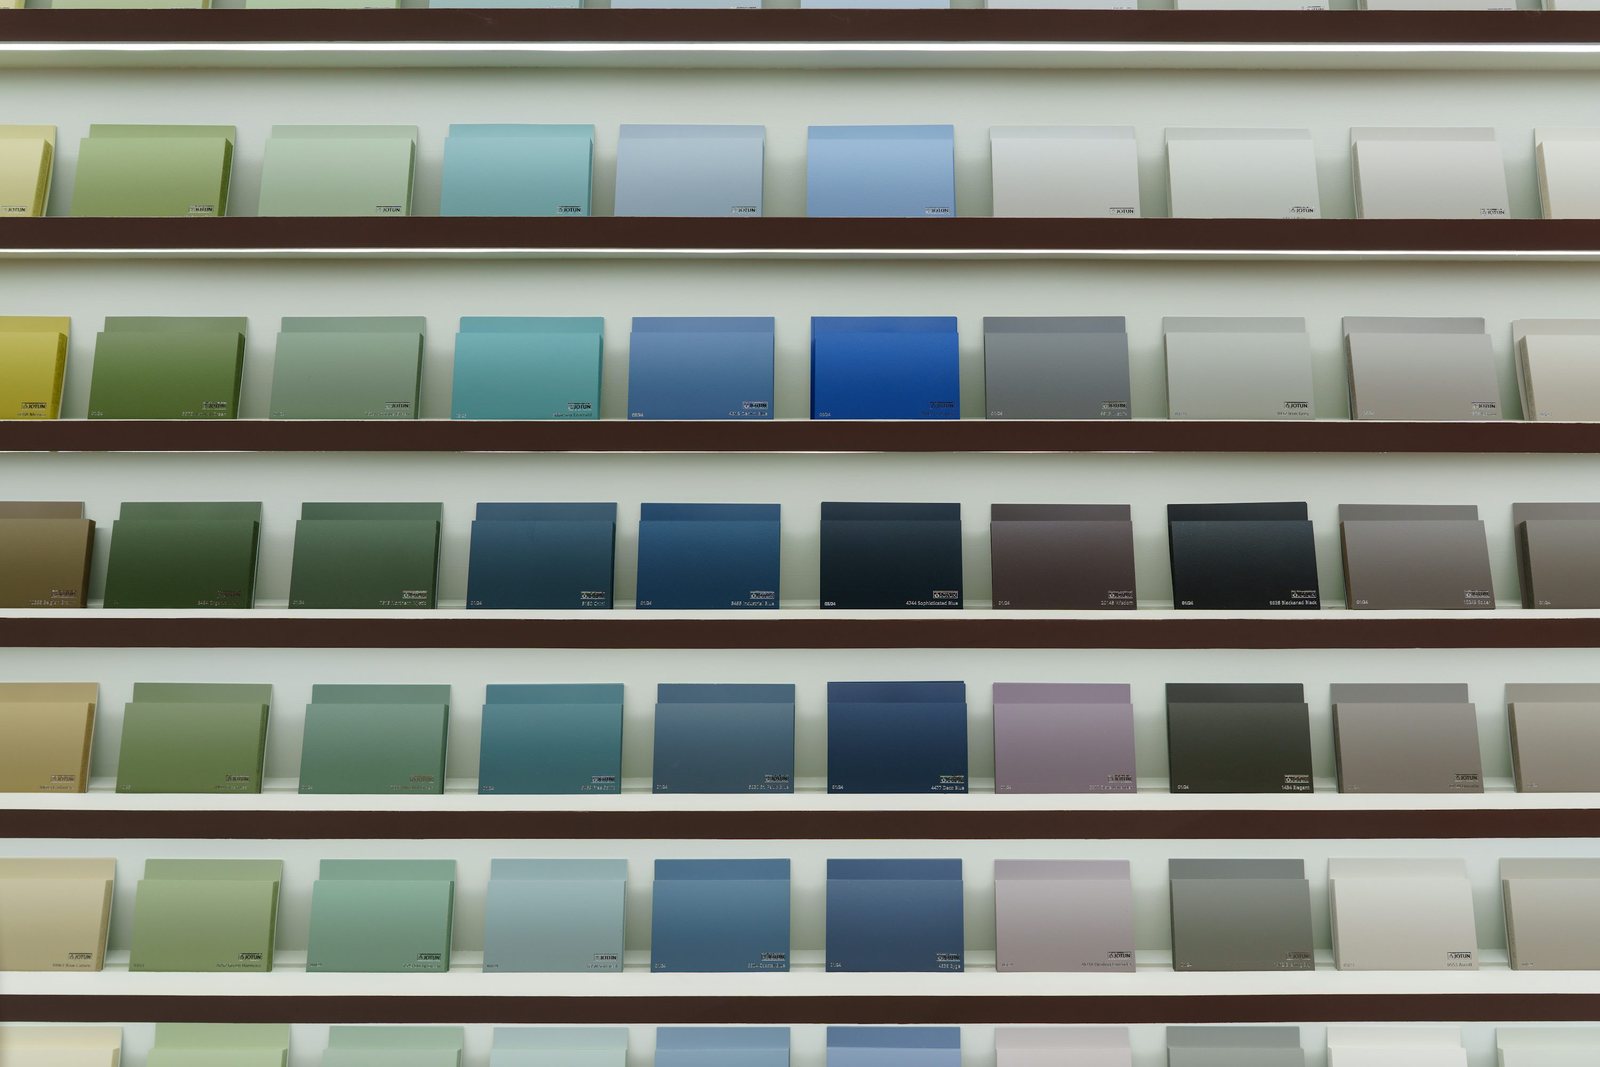

A wallpaper product can be removable and still be a poor choice for a particular rental wall. The finish beneath it, the condition of that finish, permission to apply it, and the work of taking it down all matter. Before ordering a room's worth of pattern, treat the project as a series of decisions. A no at one stage can save you from an installation you never needed.
A FEW THINGS TO TAKE WITH YOU
- Confirm permission and the exact wall finish before choosing a product.
- A successful small sample is useful evidence, not a promise about long-term removal.
- Plan the exit, including time and approved restoration, before installation.
Gate one: are you allowed to change this surface?
Read the decorating provisions that apply to your rental and ask the property contact about the specific project if permission is needed or unclear. Describe the product, exact wall, proposed area, and removal plan. Permission for a few picture hooks does not automatically answer a wallpaper question. Keep the written response with the product instructions rather than relying on a passing conversation.
Also decide what outcome you can reasonably accept. If any paint lift would create a problem you cannot resolve, adhesive wallpaper may be the wrong project even with permission. You can put a pattern on a suitable panel or furnishing you own instead, following its instructions and displaying it securely. A decorated room does not require a decorated landlord-owned wall.
Gate two: what do you actually know about the wall?
Record the surface material, visible texture, paint finish, approximate painting date if known, and any existing flaking or damage. Ask for missing information instead of guessing from a photograph. A wall that looks dry does not establish that its paint has completed the curing time specified by the paint manufacturer. Do not cover a maintenance problem to make it disappear visually.
Tempaper's FAQ recommends sound, smooth, primed and painted surfaces and flags flat, matte, and low-sheen finishes as a paint-removal risk. Its installation page lists textured surfaces as not recommended. WallPops likewise describes smooth, flat surfaces as the best match for NuWallpaper and explains that texture can interfere with adhesion. These are product-specific statements; do not carry one manufacturer's preparation method over to another brand.
If the product page, packaging, and support advice disagree about your surface, send the manufacturer the details and ask for a clear answer before proceeding. An attractive customer photo cannot tell you whether its wall is constructed or painted like yours.
Gate three: what would the sample need to show?
Order a sample of the actual product and ask the maker how to assess it on your surface, including how long to leave it and how to remove it. Use an inconspicuous permitted area. Follow the specific preparation instructions, record what you did, and photograph the surface before and after. Do not introduce extra adhesive to make an unsuitable surface pass the trial.
Look separately at appearance, adhesion, and removal. You might love the pattern but dislike visible wall texture. It might adhere neatly but disturb the paint on removal. A sample also cannot reproduce years of exposure or every part of a large wall. Treat it as a way to discover reasons to stop, not as a certificate that the whole installation will come away perfectly.
| Observation | Decision to resolve |
|---|---|
| Edges lift or seams do not sit as expected | Ask the maker about compatibility; do not improvise a stronger glue |
| Paint or existing finish transfers during removal | Stop and reassess the project with the property contact |
| Pattern looks much busier at room scale | Reduce the covered area or choose a different visual approach |
| Sample looks and removes satisfactorily | Continue evaluating; long-term behavior remains uncertain |
Gate four: does the whole project still make sense?
Draw the proposed area with its actual height and width, including doors, switches, corners, and obstructions. Use the manufacturer's measuring and pattern-matching guidance to work out material needs. Dividing wall area by the area printed on a roll can overlook the way the pattern must line up. Check batch or lot guidance and the return policy before opening anything.
Now compare three versions: the whole wall, a smaller uninterrupted area, and no wallpaper. Give each a column for material, preparation, access, installation time, removal time, and possible approved restoration. Include the practical difficulty of working around furniture. A smaller area may keep the part of the idea you love while removing the most troublesome corners and interruptions.
Write the removal plan while the packaging is still here
Save the exact product name, batch details, instructions, date installed, and any permission. Tempaper's installation guide describes slow removal parallel to the surface; other products may specify a different method. Follow the directions for your product and contact its maker if the finish starts coming away. Do not assume that heat, solvents, water, or aggressive scraping are suitable for an unknown wall finish.
Leave enough time before moving to inspect the result and arrange any necessary response with the property contact. The decision record should end with one of three outcomes: proceed with a defined area, gather missing information, or choose a different way to add pattern. All three are useful results. The point of the process is a room you enjoy without an avoidable project waiting at the end of the tenancy.
Sources & further reading
- Tempaper: surface compatibility and paint guidance ↗
- Tempaper: installation and removal instructions ↗
- WallPops: NuWallpaper surface FAQs ↗
This guide offers general home-planning ideas. Product instructions and your own rental agreement take precedence. How we approach our guides.